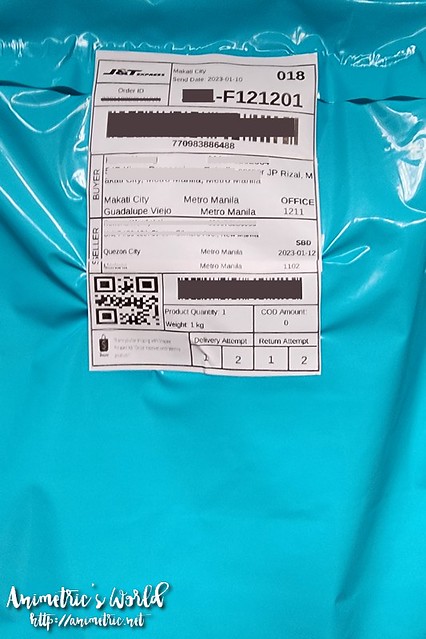
As most of you know, I’ve been decluttering on Shopee for years now. I sell unwanted things at home there, both new and preloved. Starting last year though Shopee stopped providing courier pouches and all sellers have been required to print their own waybills. While I have tried printing Shopee waybills on regular bond paper, I find it very tedious. It involves cutting them to the right size and then covering them with clear tape so the text won’t get blurred by moisture. I just decided to get a Paperang P1, the cheapest bluetooth thermal printer I could find to print waybills with. You just load it with sticker paper and use the app to print the correct waybill size.
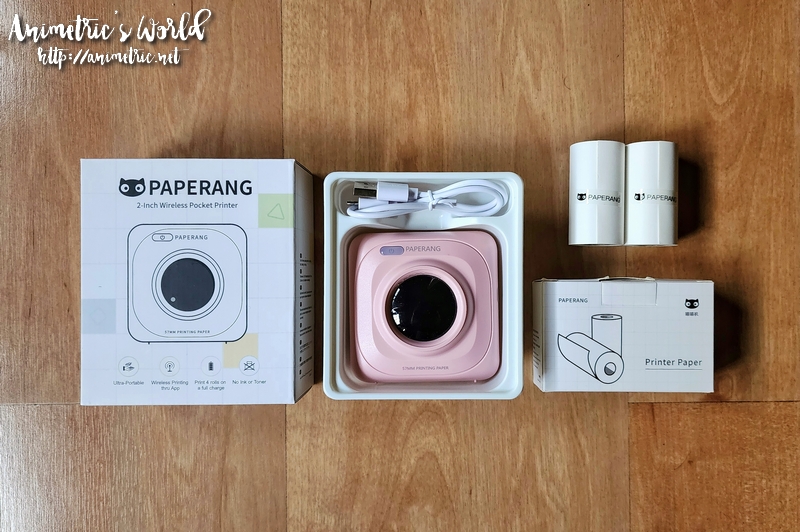
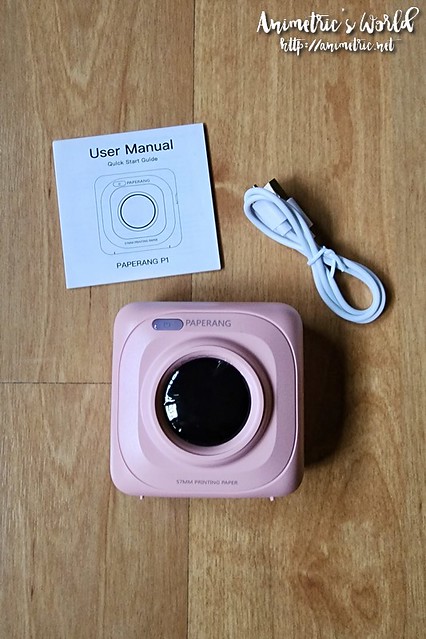
 I ordered a pink Paperang P1 from the official Paperang Store. This is the cheapest model. I was only using it for waybills so I didn’t need the additional features of the more expensive models. The Paperang P1 I bought came with some free paper — both regular and sticker paper. The unit comes with a charging cable and instruction booklet. You will need to download the Paperang app to your mobile device to operate it.
 Operating the Paperang P1 is really simple. There’s only one button on the unit — the power button. All you need to do is turn on the unit and turn on the bluetooth of your mobile device so the printer can synch with the app. The app is pretty self-explanatory on how to print stuff and it will tell you if your printer and device are synched. If you want to know specifically how to print Shopee waybills, just google “how to print Shopee waybill with Paperang P1”. It involves taking a screenshot of the Shopee-generated waybill, opening it via the Paperang app, setting it to landscape orientation, and telling the app to print in 3 installments. This is so you can get the correct A6 waybill size.
 This is the top view of the Paperang P1. Paper comes out here and you pull it towards the “teeth” to cut it. Since my Shopee waybill is printed in 3 parts, I assemble it when I stick it onto the courier pouch.
 It comes out like this after I stick the 3 parts together onto the courier pouch. I’ve sent out a lot of packages this way and so far everything has been received by the buyers. I don’t buy sticker paper from the Paperang store because it is quite expensive. Found a different seller who sells generic sticker paper for much cheaper here. Admittedly the Paperang sticker paper is nicer but this works just as well so I’m sticking to the lower cost option.
What I like about the Paperang P1:
- The battery lasts really long. One charge can print a lot of waybills.
- It’s very compact so it’s easy to store and/or bring around.
- It’s really easy to operate. There’s only one power button to press on the unit and the app is self-explanatory.
- It’s the cheapest thermal printer I’ve found and it serves its purpose.
- Sticker paper refills are easy to source, a lot of sellers carry them.
I don’t really dislike anything about this. Given another chance to purchase, I’d probably still go with the P1. Of course, this works for me as I only sell to declutter. If you’re selling as a business you might want to opt for a more serious, heavy duty thermal printer.
Check out the Paperang Official Store in Lazada if you’re interested in getting one. I bought mine during the 10.10 sale and it cost around ₱900+ back then.
Like this post? Subscribe to this blog by clicking HERE.
Let’s stay connected: