If there’s one thing everybody in our house loves is cheese… and chips! Cheese-flavored potato chips anyone? Lol. Not exactly the healthiest fare when we go buy a big bag of those and sit in front of our TV binge-watching some Netflix series. So when presented with the challenge to cook something with Real California Cheese, I immediately accepted. California has been making cheese for 200 years using the freshest cow’s milk. No fillers here, so we’ve pretty much got the health aspect covered from the get go. An ounce of natural cheese can provide approximately 20% of a person’s daily recommended calcium intake.
 I went to Rustans Supermarket to get some Real California Cheese.
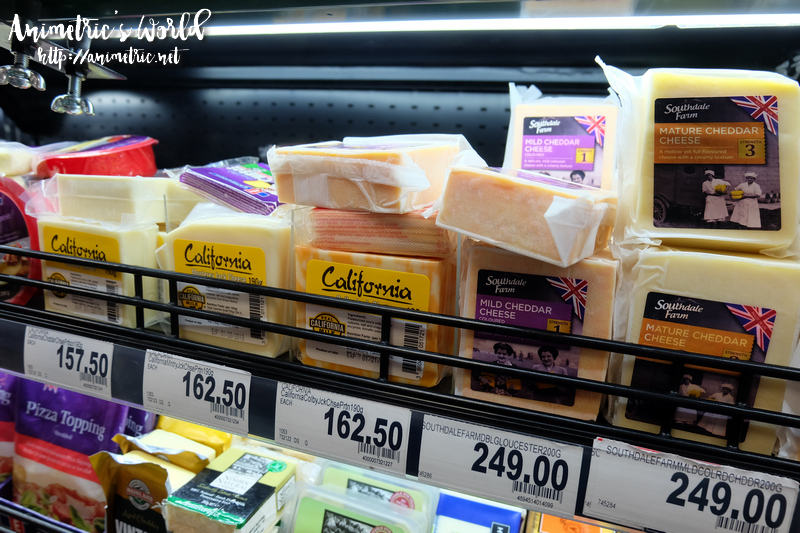 Real California Cheese is surprisingly affordable. I bought several 190g blocks of different variants and the prices ranged from P157.50 to P162.50. Compare with similar 200g cheese blocks beside it and you’ll see quite a wide gap in terms of pricing.
 I got blocks of Monterey Jack, Colby Jack, Pepper Jack, and Cheddar cheese so we’ll have enough to cook with and use for sandwiches.
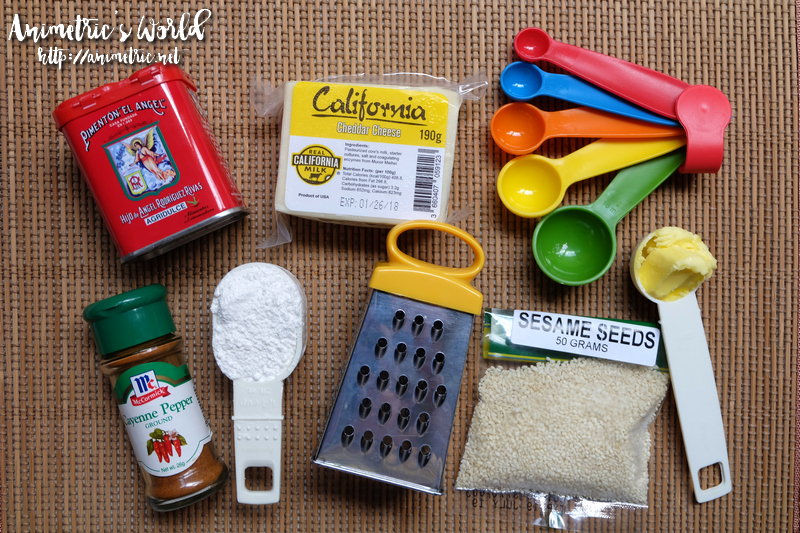 Okay back to the topic. Like I mentioned earlier, everyone here loves cheese flavored snack chips. So I thought instead of buying more bags of junk food, why don’t I try making my own chips? Anyhow I found a simple enough recipe online and used it as my guide since I have never done anything like this before.
I used the following ingredients for my version:
- 2 cups grated Real California Cheddar Cheese (one 190g bar yields exactly this much)
- 1/4 cup all-purpose flour
- 1 teaspoon paprika (I used Pimenton El Angel from Spain, given to me by a friend)
- 1/8 teaspoon baking powder
- pinch of cayenne pepper, to taste (optional, but I went for it)
- 1 tablespoon unsalted butter (at room temperature)
- 1 tablespoon sesame seeds
- a dash of Badia Rotisserie Chicken seasoning (optional)
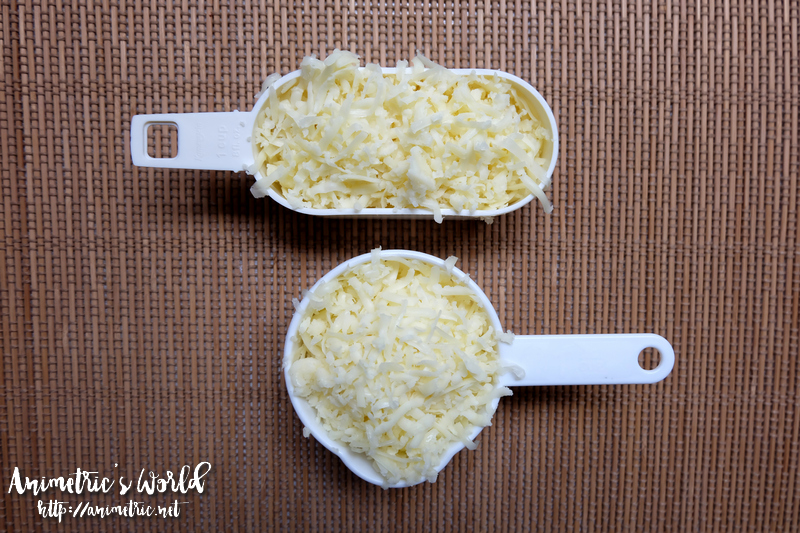 Preheat oven to 350°F / 200°C. Grate 2 cups of cheese.
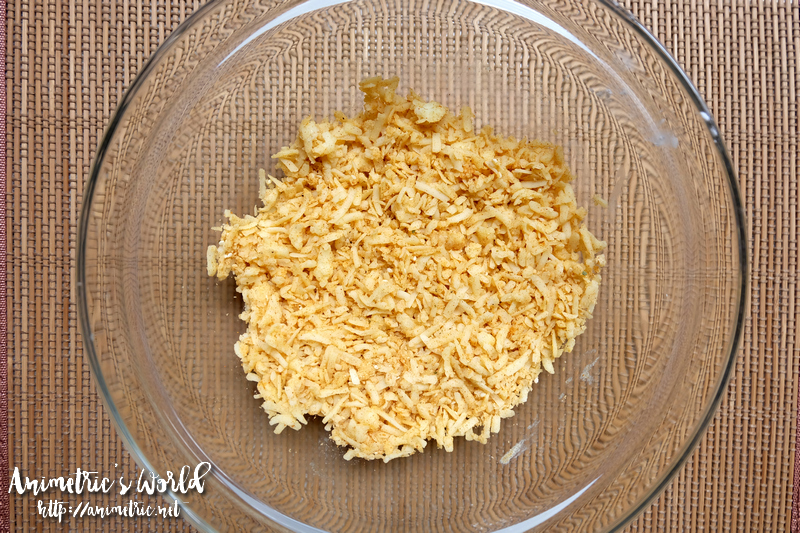 Mix flour, paprika, baking powder, and cayenne pepper. Add butter and mix with a fork until blended in. Stir in sesame seeds. Add grated cheese and toss together.
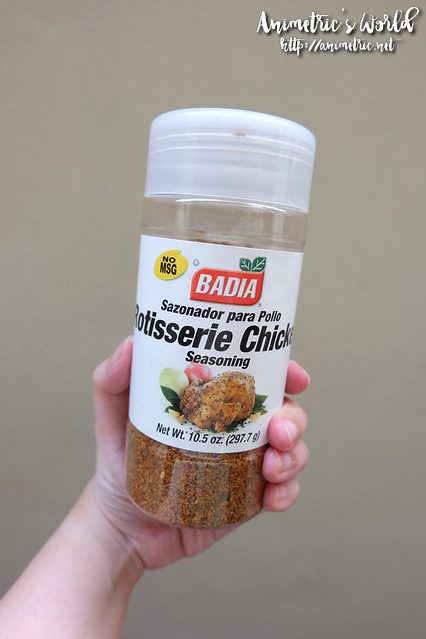 I added a dash of Badia Rotisserie Chicken seasoning to the cheese mix as a final touch.
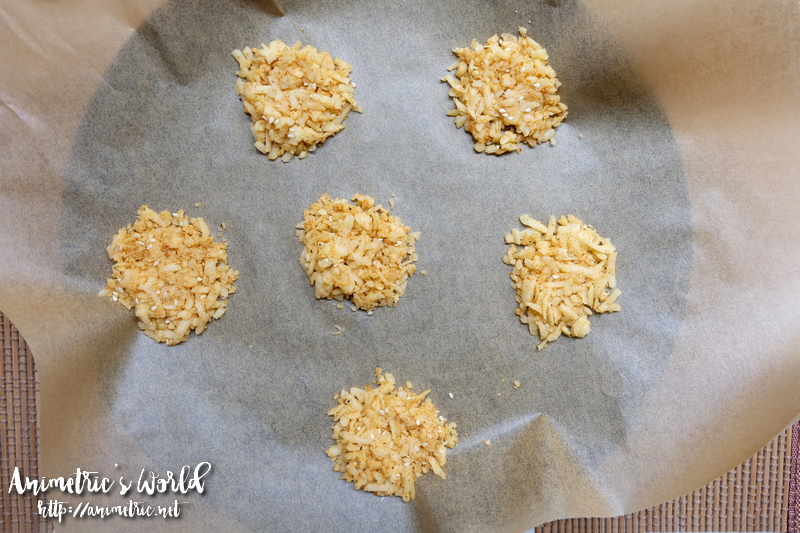 Get a baking sheet and line it with parchment paper. Put tablespoon-sized mounds of the mix 2 inches apart and then place in the oven.
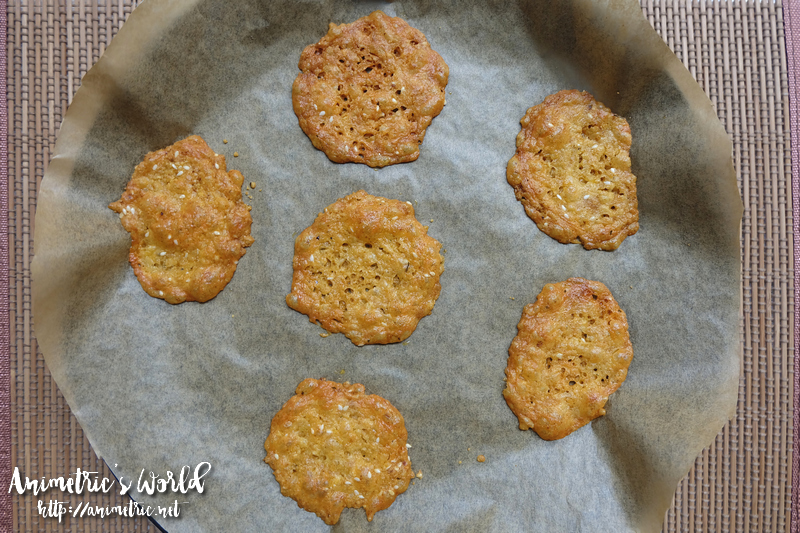 Bake for 9 to 12 minutes or until golden. I baked for 10 minutes and it was okay. This actually depends on your oven.
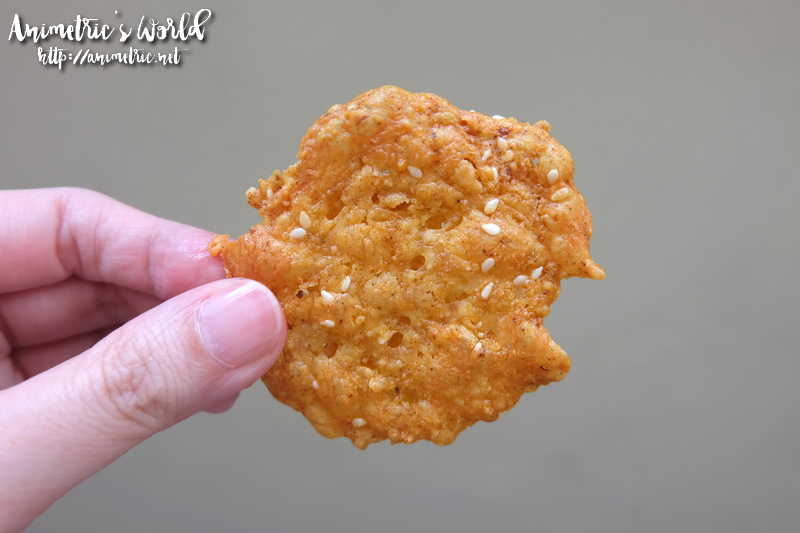 Here’s how it looks up close. I swear it’s so legit! It smells sooooo good too.
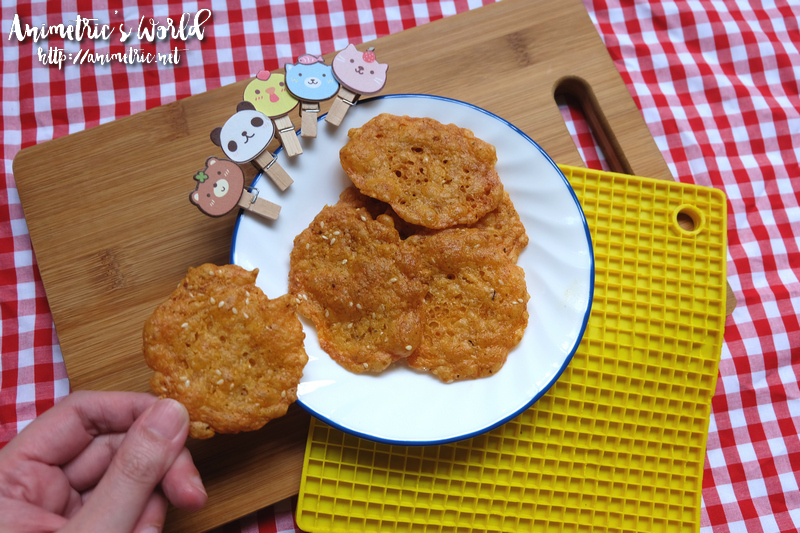 Let the chips cool for a bit. I served them to the kids while warm and they wolfed down a dozen right away lol. These yummy snack chips are both healthy and easy to make so it’s a win-win for the family! 🙂
Real California Cheese is available at leading supermarkets nationwide. I’m so excited to cook up other things with my stash!
Like this post? Subscribe to this blog by clicking HERE.
Let’s stay connected:
1 thought on “How I made chips with Real California Cheese”