Up until last July 30, 2011, I’ve never personally encountered airbrush make-up. I’ve heard of it… and I know that make-up artist Barbi Chan (my idol haha!) was one of the first to employ this make-up application method some years back. So yes, I immediately grabbed the opportunity to attend a free workshop and learn more. Another great thing about it was the fact that two of my beauty blogger friends (both of whom are also skilled make-up artists) were conducting the workshop — Nikki Tiu of Askmewhats and Sophie Uy! 😀
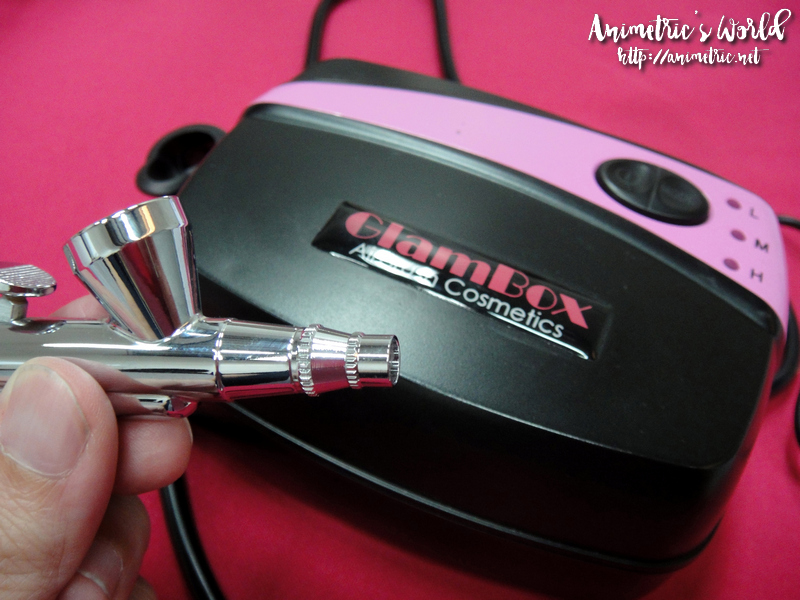 I was able to actually handle Glambox Airbrush Cosmetics’ compressor and airbrush gun at the event. Just to give you an idea, the Starter Kit includes:
- 30ml Foundation (of your choice) x 1
- 20ml Cheek Color (of your choice) x 1
- 30ml Cleaner and Thinner x 1
- Compressor
- Airbrush Gun (w/ accessories)
- Gun holder
- Adaptor
- Airhose
- DVD
- Carrying Case
The whole set costs P8,500. You can already create a perfectly flawless and contoured face with the Starter Kit.
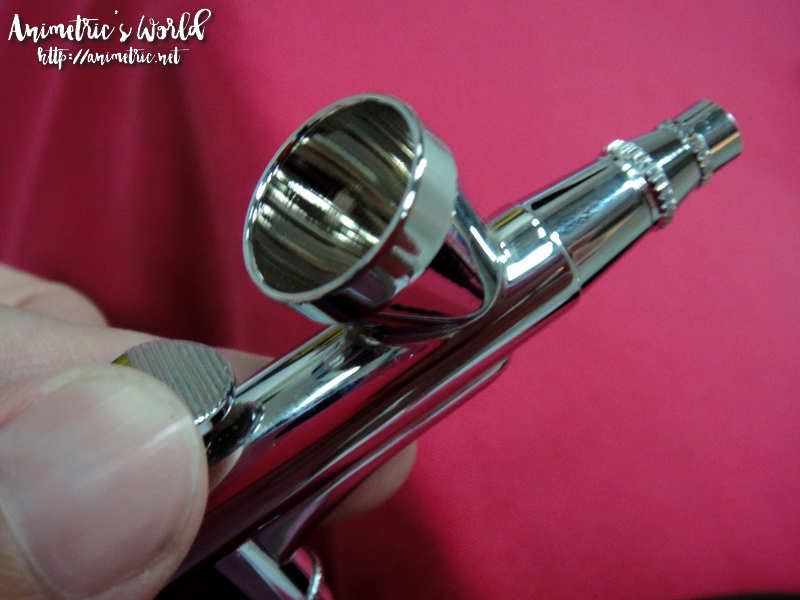 You pour liquid make-up into the airbrush gun via the funnel on top. It’s quite simple really, just shake the container of foundation or cheek color and then drop the amount needed into the funnel. You use the cleaner and thinner to unclog after use.
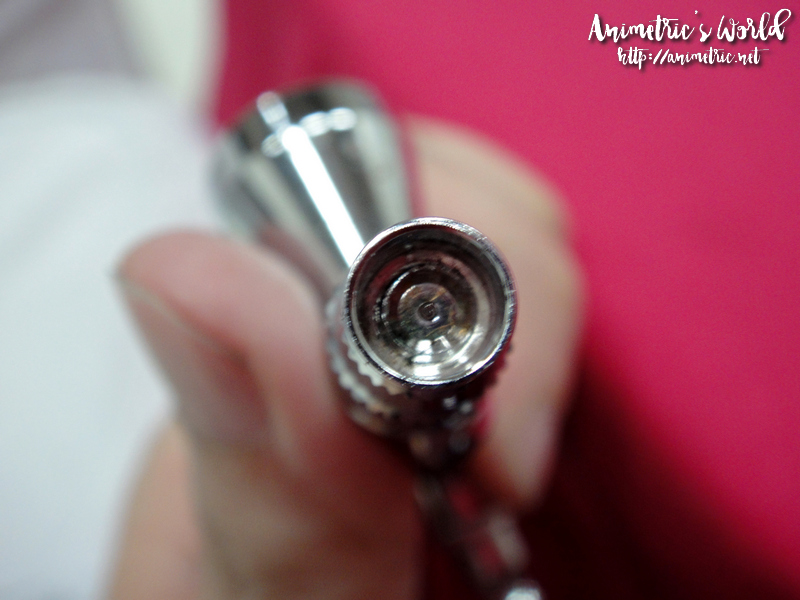 This is the frontal view of the airbrush gun. Pressurized air and make-up come out through that little hole in the middle.
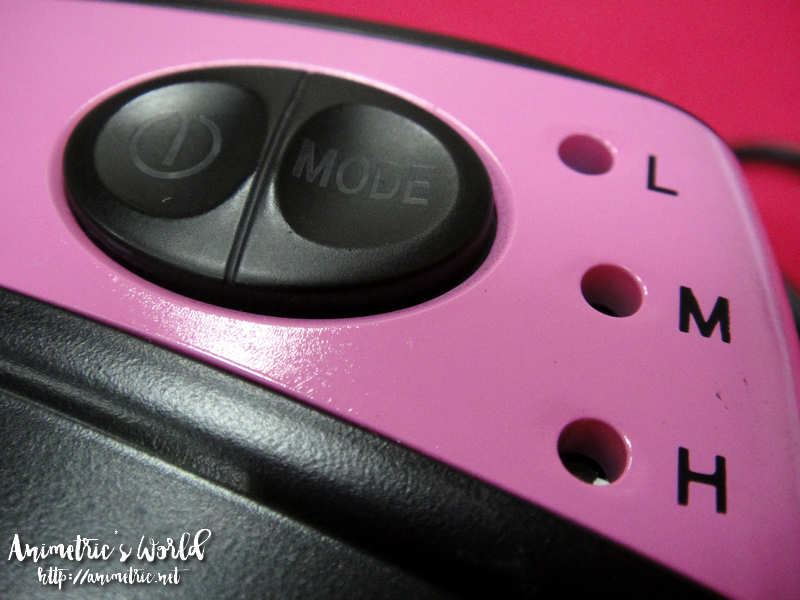 The compressor has three settings: Low, Medium, and High. According to Nikki, you use Low for the finer details like applying make-up around the eye area, Medium for applying foundation on your entire face, and High for applying make-up on your body.
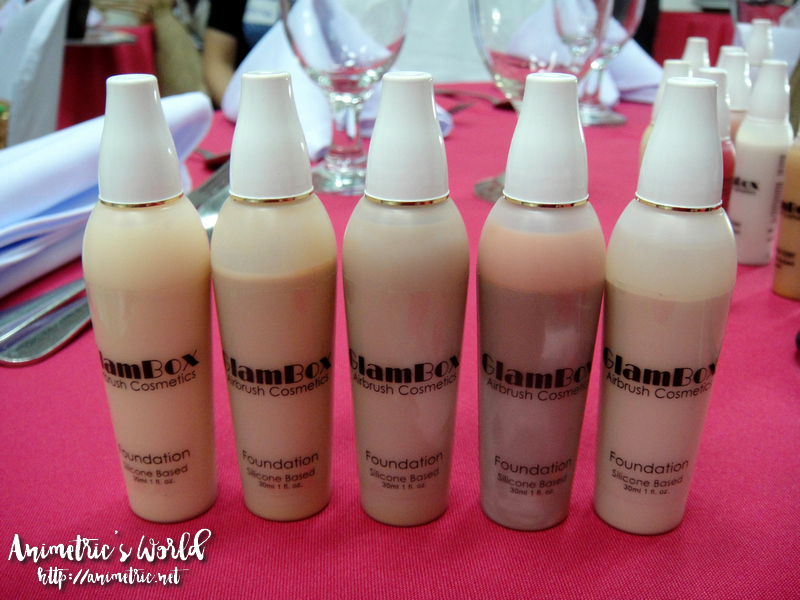 There are six (6) shades of foundation available. Each bottle costs P890. You need only to put in a few drops into the airbrush gun to cover your entire face.
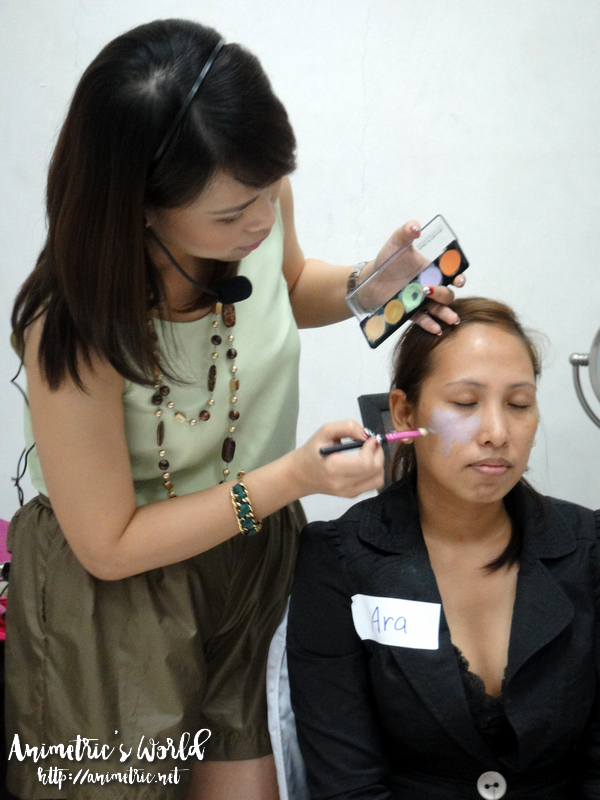 Nikki began the demo on a volunteer model. She started by correcting and concealing imperfections like freckles and dark undereye circles. They were doing one half of the model’s face first in order to show us the difference.
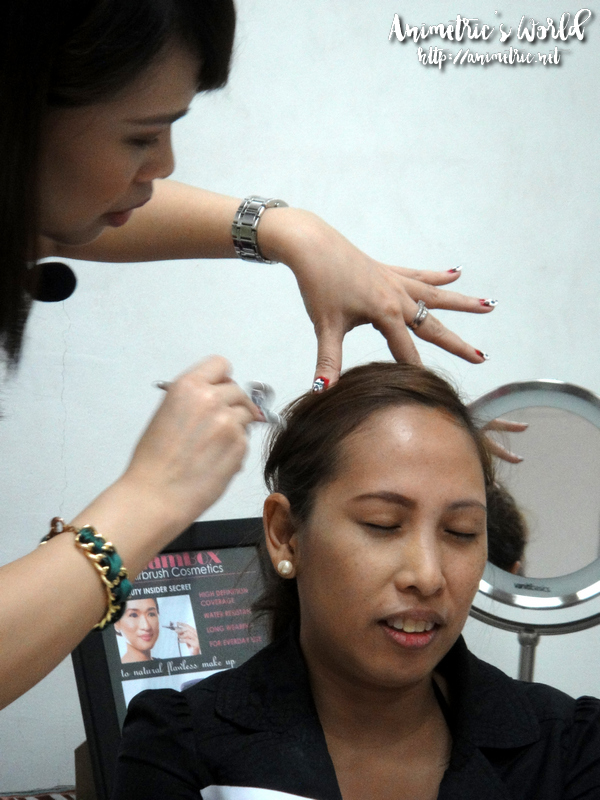 Sophie did the model’s eyebrow first and it was darker than usual since the airbrush foundation was going to lighten it. Nikki then proceeded to apply airbrush foundation. You have to hold the airbrush gun around six inches off your face for best results. Use circular motions when working with the airbrush gun so that the make-up is applied evenly.
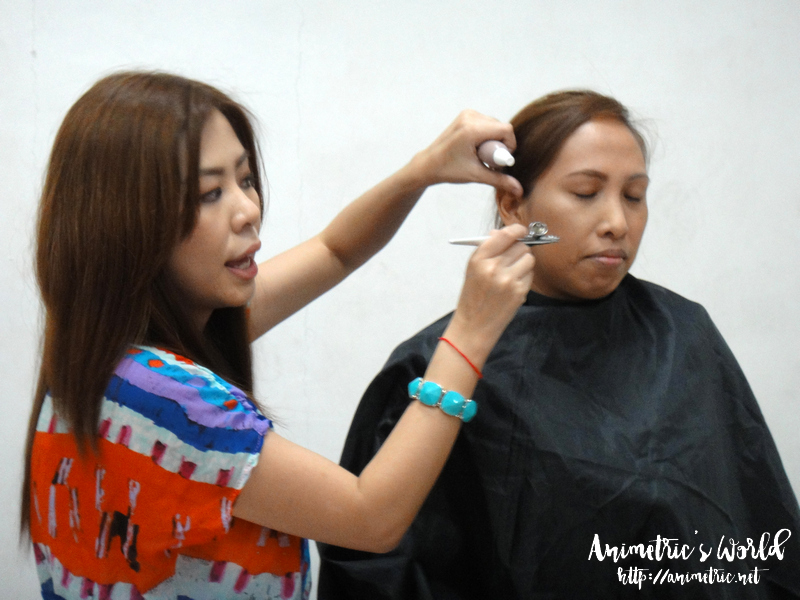 After the foundation was applied, it was allowed to completely dry and set for a few minutes before going onto the next step which is cheek color. Sophie took over and selected a blush shade that would complement the model’s skin tone. Cheek color is used to both create a natural glow and contour the face so your cheek bones pop out for a 3D effect.
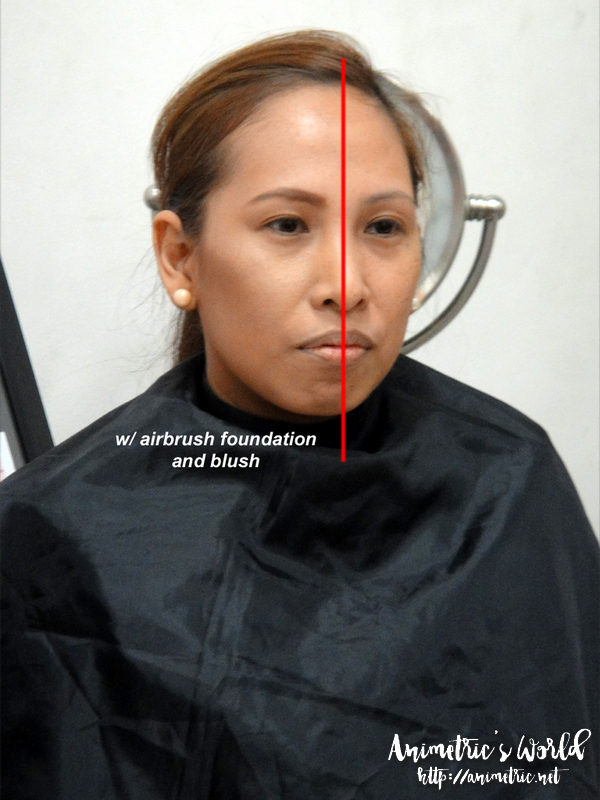 See the difference? Applied properly, airbrush make-up yields a more natural and flawless finish compared to traditional make-up. It feels lighter and lasts a lot longer too. I put some airbrush foundation on my hand and tried to remove it with wet wipes and it stayed put. Sophie went on to airbrush everything (except the lips). She mixed mineral eyeshadow powder with some liquid foundation and airbrushed the model’s eyes. Unfortunately I wasn’t able to take a photo because I spilled Illuminizer on my self in an attempt to load some into the airbrush gun. XD
It was truly a fun and learning-filled afternoon for me. I’m just happy I got to try and experience airbrush make-up firsthand. Thank you Glambox Airbrush Cosmetics, Sophie, and Nikki for the opportunity! 😀
For more product information and to find out where you can buy Glambox Airbrush Cosmetics check out their official website at http://www.glamboxairbrush.com/.
Like this post? Subscribe to this blog by clicking HERE.
Let’s stay connected: