I took professional makeup lessons at HD Makeup Studio & Academy back in 2011. While I did not move on to becoming a practicing professional makeup artist, I learned what I believe was just about everything I needed to know about makeup application. Occasions that require me to make a career of makeup application are few and far between honestly. Plus I don’t usually have that much time to devote to it. My sister-in-law’s wedding was one of those special occasions where I had to make an effort to look my best. I had planned on doing trial makeup on myself to practice but due to my hectic sked I was unable to do so.
As I’ve mentioned in my wedding OOTD post, I had barely an hour to do my makeup because of the hair stylist’s tardiness. I was gunning for a bridal look, defined as something classic and fresh during my days as a makeup artistry student. I knew it was going to be tough because the wedding ceremony was taking place at San Agustin Church in the afternoon. There’s no aircon. It’s summer and it’s going to be super hot and humid — makeup WILL melt.
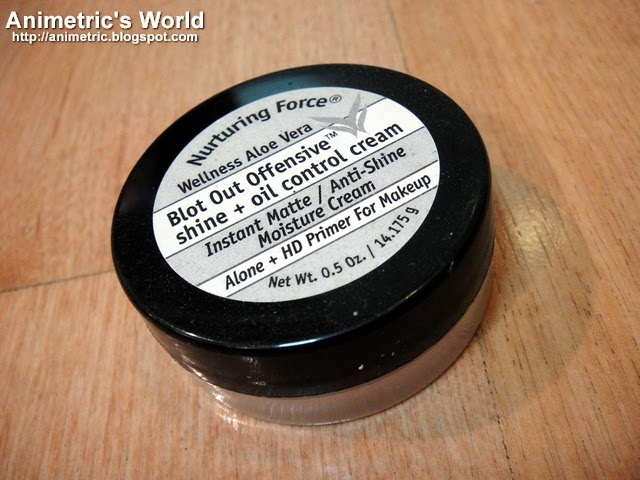
The first order of business when doing makeup for a situation like this is to prime. You cannot skip primer. The first thing I did after cleansing, toning, and moisturizing was to apply Nurturing Force Instant Matte / Anti-Shine Moisture Cream. I learned about this primer at HD Makeup Studio & Academy. It works to immediately absorb all oil and give you an oil-free skin surface to work on. It controls oil too so you can stay shine-free for the next several hours.
After applying Nurturing Force all over my face, I patted on Etude House Magic Any Cushion in Magic Mint to neutralize any redness and make my skin luminous. After priming, I applied Burt’s Bees Beeswax Lip Balm to moisturize my lips. This will help lipstick go on more smoothly later on.
To finish off my priming session, I applied Benefit Stay Don’t Stray Eye Primer in Light/Medium to my entire eye area (eyelids and browbone). I got this from the Benefit BDJ Box.
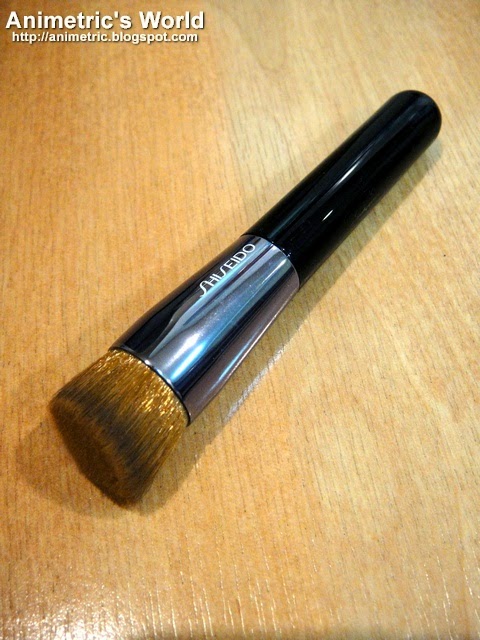
After priming I applied Shiseido UV Protective Liquid Foundation in Light Ochre, blending with the Shiseido Perfect Foundation Brush. I topped it off with Shiseido UV Protective Compact Foundation in Light Ochre. In the face of extreme heat and humidity, it’s imperative that you set with powder.
For the eyes, I used K-Palette 2 Way Eyebrow Liner in #02 Honey Brown. My eyeshadow consisted of 3 shades of brown from my Inglot Freedom Palette. I used the middle and bottom stripe of the Rainbow Eyeshadow #107 plus #30 Eyeshadow as my highlighter. I used #14 lipstick which I put on the same palette.
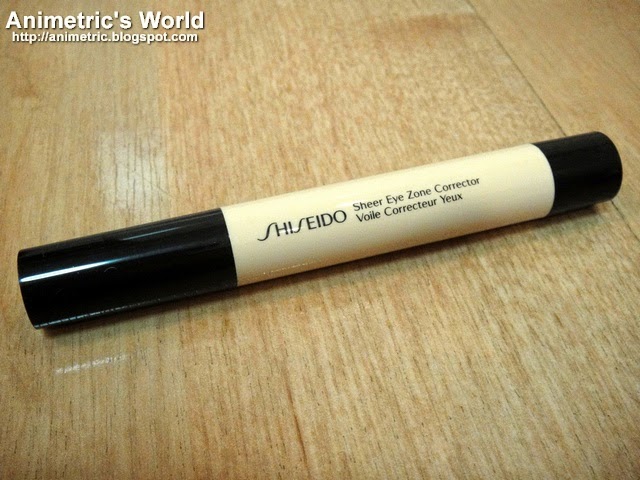
I used Shiseido Sheer Eye Zone Corrector in 103 Natural to conceal dark undereye circles. I lined with The Balm Schwing Black Liquid Eyeliner and then used Fairydrops Platinum Film Type Mascara on my lashes.
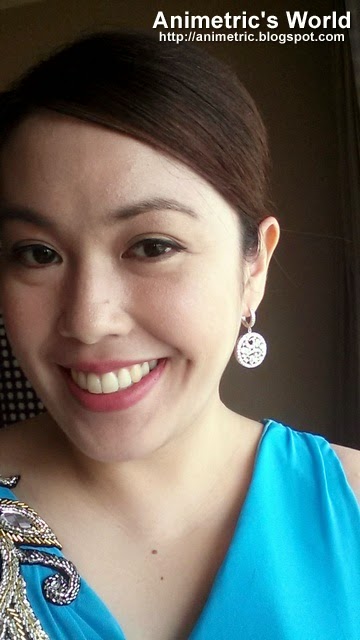
I mentioned in my wedding OOTD post that this is what Bianca Valerio would refer to as the “Boy Pretty” look because it doesn’t really look like I have a lot of makeup on. It’s a fact that most men do not like ladies who look like they put everything on the cosmetics counter on their face. It’s ironic how much products I had to use to achieve a natural “Boy Pretty” look… but then part of the reason is because I had to make sure it lasted at least 10 hours. Anyhow, here’s the full list of products I used:
- Nurturing Force Instant Matte / Anti-Shine Moisture Cream
- Etude House Magic Any Cushion in Magic Mint
- Benefit Stay Don’t Stray Eye Primer
- Burt’s Bees Beeswax Lip Balm
- Shiseido UV Protective Liquid Foundation in Light Ochre
- Shiseido UV Protective Compact Foundation in Light Ochre
- Shiseido Sheer Eyezone Corrector in #103 Natural
- K-Palette 2 Way Eyebrow Liner in #02 Honey Brown
- Fairy Drops Platinum Film Type Mascara
- The Balm Schwing Black Liquid Eyeliner
- K-Palette Real Lasting Eyeliner in Deep Brown
- Inglot Rainbow Eyeshadow #107
- Inglot Eyeshadow #30
- Inglot Lipstick #14
- Happy Skin Get Cheeky with Me in First Kiss
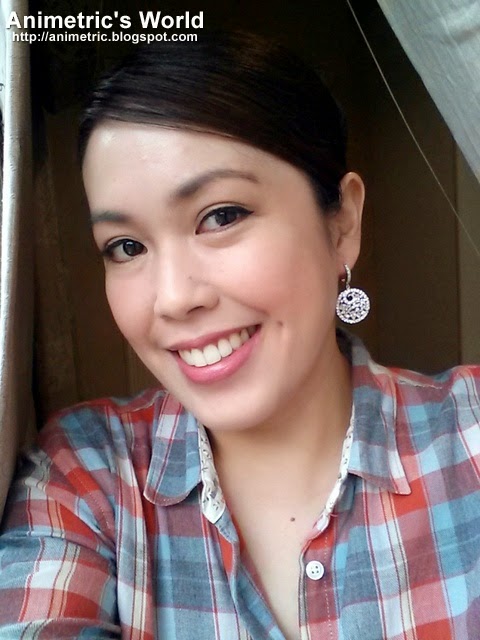
Over a dozen products on my face and I don’t look it, right? That’s “Boy Pretty” make-up according to Bianca Valerio. Best of all, I still look like myself, not some unrecognizable person. 🙂
I can’t provide a step-by-step tutorial since I was in a rush but I can share what I did to achieve this look. It’s a really quick makeup job, nothing fancy, I was done in under an hour:
- The way I applied the eyeshadows is really simple. I used the lightest, slightly shimmery shade on my eyelids and browbone (Inglot #30) then just applied the darker brown shades (Inglot #107) on the crease, blending slightly upwards. I also applied a bit of the highlighter shade underneath my eyes. I didn’t really have time to do any contouring.
- I filled in my brows using K-Palette 2 Way Eyebrow Liner in 02 Honey Brown (used both the felt tip and the powder end) then used a spoolie to blend.
- I lined my upper lids with The Balm Schwing Black Liquid Eyeliner and lined the area under my lower lashes with K-Palette Real Lasting Eyeliner in Deep Brown.
- I just smiled and applied blush in a shallow “U” motion along the apples of my cheeks.
- I used lip brush to trace my lips and fill them in with Inglot #14.
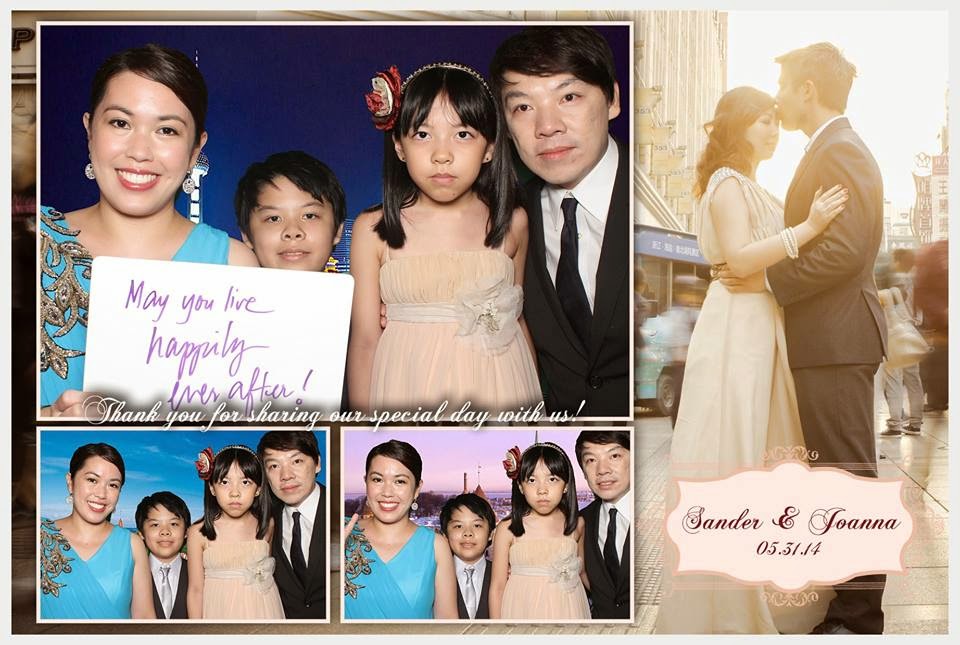
The question is, did it last? This photobooth pic was taken 8 hours after application after being exposed to the extreme heat and humidity of an afternoon in San Agustin Church. I was unable to retouch because my purse was so tiny it had no space for makeup, lol. I simply blotted with facial tissue. My makeup is still there albeit my face was kind of shiny already. When I got home 12 hours after application, my eye makeup was perfectly intact, wow.
The key to making makeup work for you is really to find the right shades, and that takes lots of experimentation. In my case, I found my perfect foundation shade in Shiseido’s Light Ochre (my face matches my neck and I don’t have to apply makeup on my neck — I hate that!). Plus Inglot #14 is my favorite lipstick shade ever (and I’ve tried a lot) because it makes my teeth look their whitest. After you find the right shades it’s blend, blend, and blend. To make everything last, you have to prime.
That’s it for this FOTD. I will be reviewing the products I used above individually (Shiseido, The Balm, etc.). I’ll try to come up with something “Girl Pretty” next time. 🙂
Like this post? Subscribe to this blog by clicking HERE.
Let’s stay connected:





1 thought on “My “Boy Pretty” wedding FOTD!”